Photography: Cat Lane
Uptown Funk seems like the best soundtrack to this post because Annabel looks too H.O.T!! She make a dragon wanna retire!
A couple of months ago, Bobbi Kumari, the founder of Living in Light asked me to perform styling, make up, hair and creative direction duties for their new Fusion Collection campaign. I had already performed these roles for their previous Maharani Collection, and was super excited to get my teeth stuck into creating for this seasons collection. Being near the end of the second trimester of this pregnancy, I knew this would be an ideal time to get stuck into a fairly large project before baby arrives.
I don't know about you, but I really do feel alive when I have the opportunity to use my creativity. It's like oxygen to me. Really, when I'm in a creative rut it feels like I'm shrivelling up and wasting away. A bit of drama yes, but honestly, sometimes I wonder why I'm feeling off kilter or a little down, and it often comes down to being bogged down with other areas of life and not having a creative outlet.
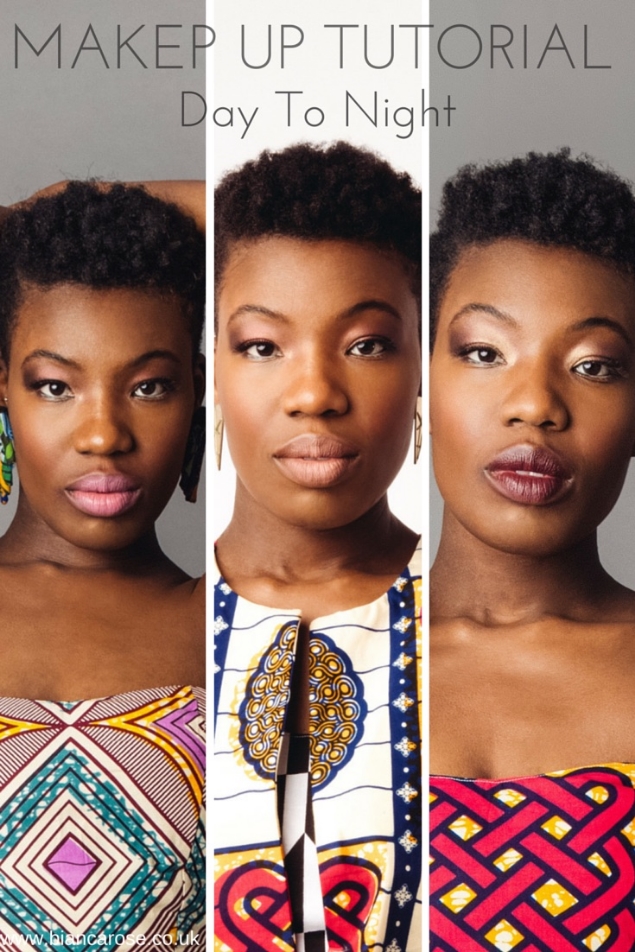
So the Fusion Collection is gorgeous! Amazing, vibrant colours are Living in Light's signature, so it was an interesting process planning the makeup and accessories looks that would compliments the designs. For the most part, we decided to allow the clothes to shine, and keep everything else pretty simple, stripped back and refined. Hopefully I'll get to share the other areas of the shoot in upcoming posts, but today I going to focus on the make-up I did for one of the models, Annabel. With very little time during the shoot, multiple outfit changes, and me being the only makeup artist for all of the models, we decided to keep the looks simple, and make small changes to transform the look throughout the shoot. I thought it would be interesting to share the subtle changes that can take a look from day to night with ease.
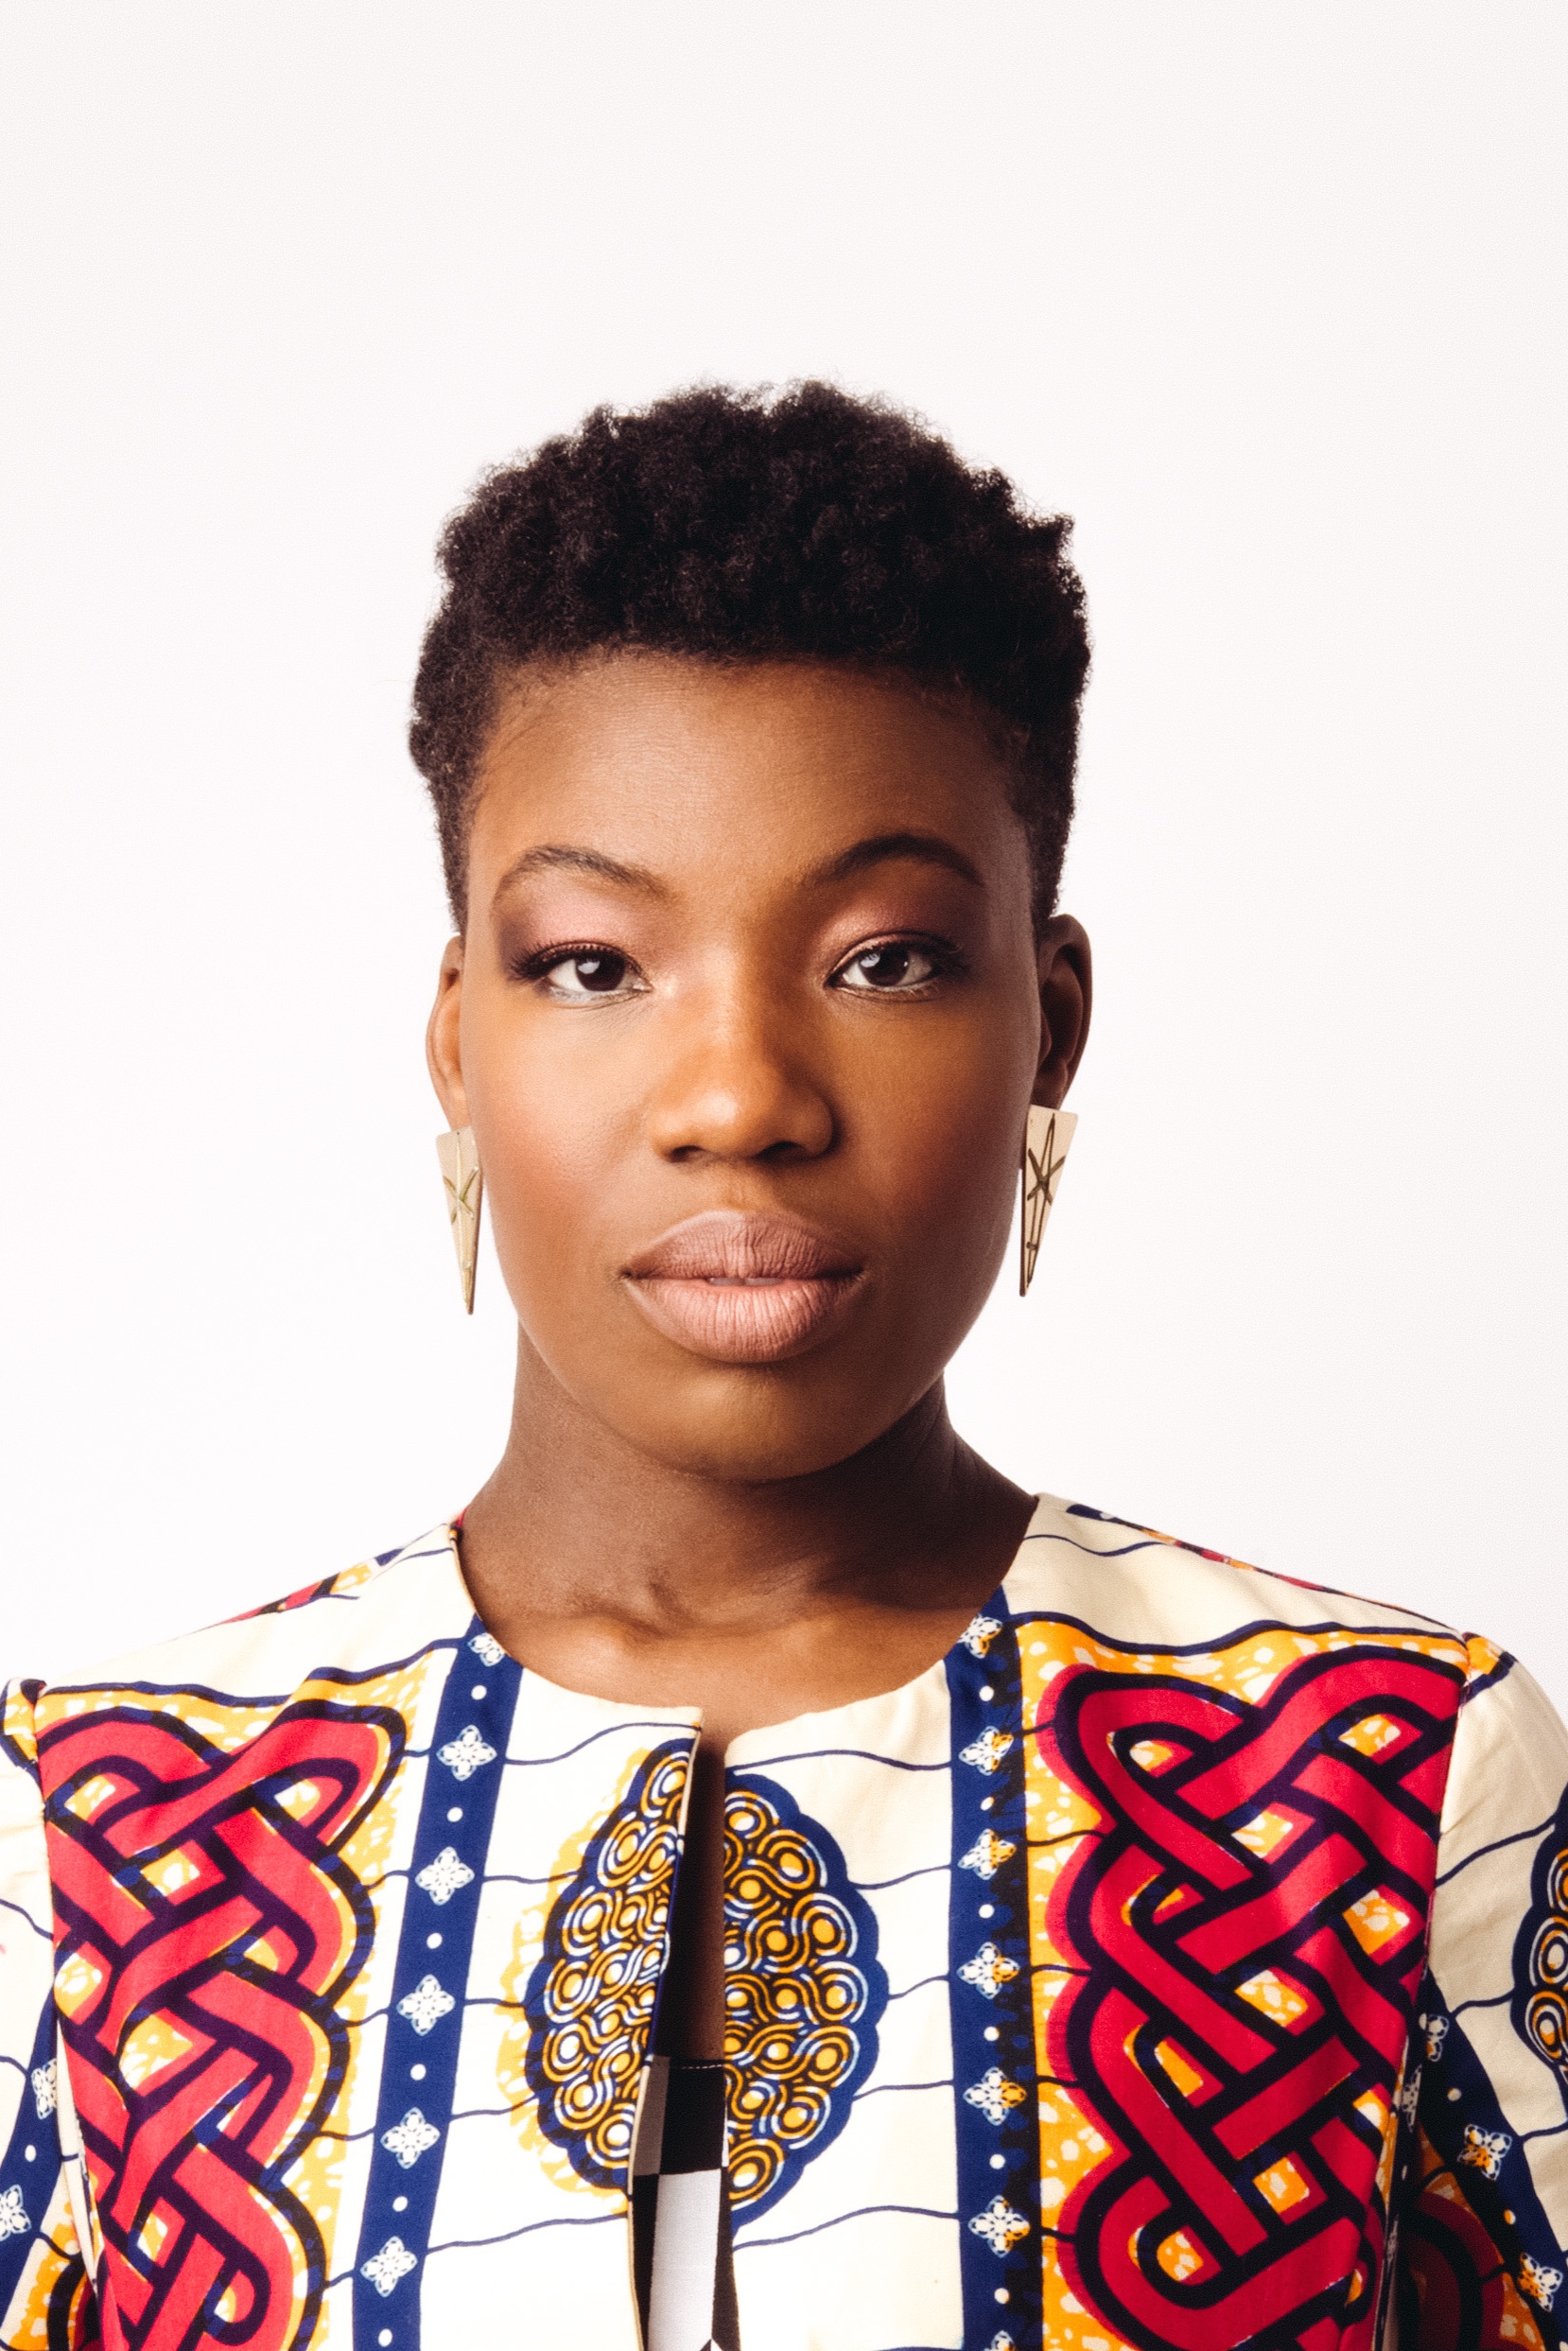
So for the main daytime look, I went for glowing skin, bronzy, neutral colours, that one would maybe wear to daytime wedding, or garden party. Annabel's face is a gorgeous canvas, she has such striking features which are so fun to play up.
Photography by: Cat Lane
I started with freshly cleansed skin, and prepped her face by applying Superdrug Simply Pure Hydrating Serum, then to moisturise, La Roche Posay Cicaplast Pro-Recovery Skincare and a lip conditioner, on this occasion Elizabeth Arden Eight Hour Cream Skin Protectant. I used these products particularly, because they were all fragrance free, very soothing and restoring products that wouldn't just sit on the skin, but would really help to condition and prep the face for make-up application. Choosing products in this way for a shoot is really important, as it is difficult to know what condition the models skin will be in the day, so these items actually proved to be non-irritants, and very soothing.
I then applied a thin layer of Mac's Strobe Cream to the entire face, concentrating mostly on the high points, i.e. top of cheekbones, brow bone, bridge of nose etc. Applied before foundation helped to create a lovely luminosity to skin.
A thin layer Mac's Match Master foundation in colour No.9 was applied to the whole face, out to the ears and slightly down the neck with fingertips. I find this helps save wastage of the product, and the warmth of my hands really helps with blending. To further buff the product into the skin, I used the Real Techniques Buffing Brush from the core collection to further work the product into the skin for a flawless finish.
Mac's Prep and Prime Highlighter in Peach Lustre was applied very sparingly to any dark areas on the face, a tiny bit under the eyes, and on any areas of hyper pigmentation. This is great to cancel out any darkness, so when Mac's Prolong Wear Concealer in NW45 was applied to conceal, the skin was left with a flawless finish. As NW45 was little lighter than Annabel's natural skin tone, it was a fab highlighter under the eyes, applied to the chin, cupid's bow and a very small amount down the bridge of the nose. I wasn't going for the full on Kim Kardashian look, but a more natural version of the infamous 'lit from within' amazingness that looks so lovely in photos.

A small snapshot of the makeup I used at the shoot!
The dark brown contour powder found in the Sleek Contour Kit was applied to the hollows of the cheeks using Real Techniques Contour Brush. A little of this contour powder was also applied around the hairline, and jawline and buffed well into the skin to further define the face. If you're experiencing difficulty finding an affordable powder contour for dark skin, do check out the Sleek range, as they really cater well for the deeper end of the skin tone spectrum.
The highlighted areas were then set with Ben Nye powder in Topaz, and the rest of the face set with a very very light dusting of Mac's Mineralise Skinfinish in Deep Dark, and a little Mac Prep and Prime Translucent Powder around the nose and on the forehead to knock back the shine and give a more airbrushed look.
A little of Nyx Eyeshadow Base in Skin Tone was applied to the eyelids after which the colour Laura E, from the W7 In the Night Palette was applied to the entire lid. Camel from the W7 In The Buff Palette, a lovely bronze gold shade was applied to inner corner, and Onyx, applied to the outer corner and into the crease to contour. Then blended well to remove any harsh line and for a smooth transition. I applied nude eyeliner to the lower water line and Mac Eye Kohl in Smoulder pencil tight lining the upper water line and inner corner.
For the eyelashes, a generous coating of Rimmel Volume Flash Mascara, applied to the top and bottom lashes, Amazing Shine Eyelashes in XS, applied to top lash line, with Duo Eyelash Adhesive.
Eyebrows brushed through, then lightly & naturally filled in and defined with Rimmel London Professional Eyebrow Pencil in Dark Brown.
I further highlighted the top of cheekbones with Ben Nye's Banana Shimmer Powder, and a very small amount of this powder taken vertically down the bridge of the nose.
Finally for lips, I covered them in the Kiko Precision Lip Pencil in 301, followed up by a nude matte Mac lipstick, but I can't remember which one (sorry!), then defined with Mac's Lip Pencil in Chestnut.
And voilà! Day look complete.

Photography by: Cat Lane
For a fun variation on this pretty neutral day time look, I changed the lip to a baby pink colour. Feel free to play up the lips for an easy update to the look.
To transform the look from Day to Night I did two things:
- I took the colour that I used to highlight the inner corner of the eye all over the lid, up to contour colour at the outer corner. I wanted to brighten up the who eye look, to provide a more drastic contrast to the dark lip I was going to apply.
- I applied a mixture of Beauty UK Lipstick in No.6 & No.17 to create this lovely vampy lip.

And that's it! Well almost! A final couple of tips for reapplying & freshening up makeup throughout the day:
- Have a light hand when reapplying to avoid your make up looking caked on by the end of the day
- Choose one or two main things to switch up the look, usually this is enough to provide a drastic change, and look like you've updated the entire look!
For Annabel's hair, I asked her to set it in small to medium sized two strand twists the night before. We then untwisted, and fluffed with a little gel applied to the fingertips, and brushed the edged of her hair with a little gel applied to a toothbrush.
For her body, Johnsons Baby Oil was applied for a little of that Naomi Campbell shine!
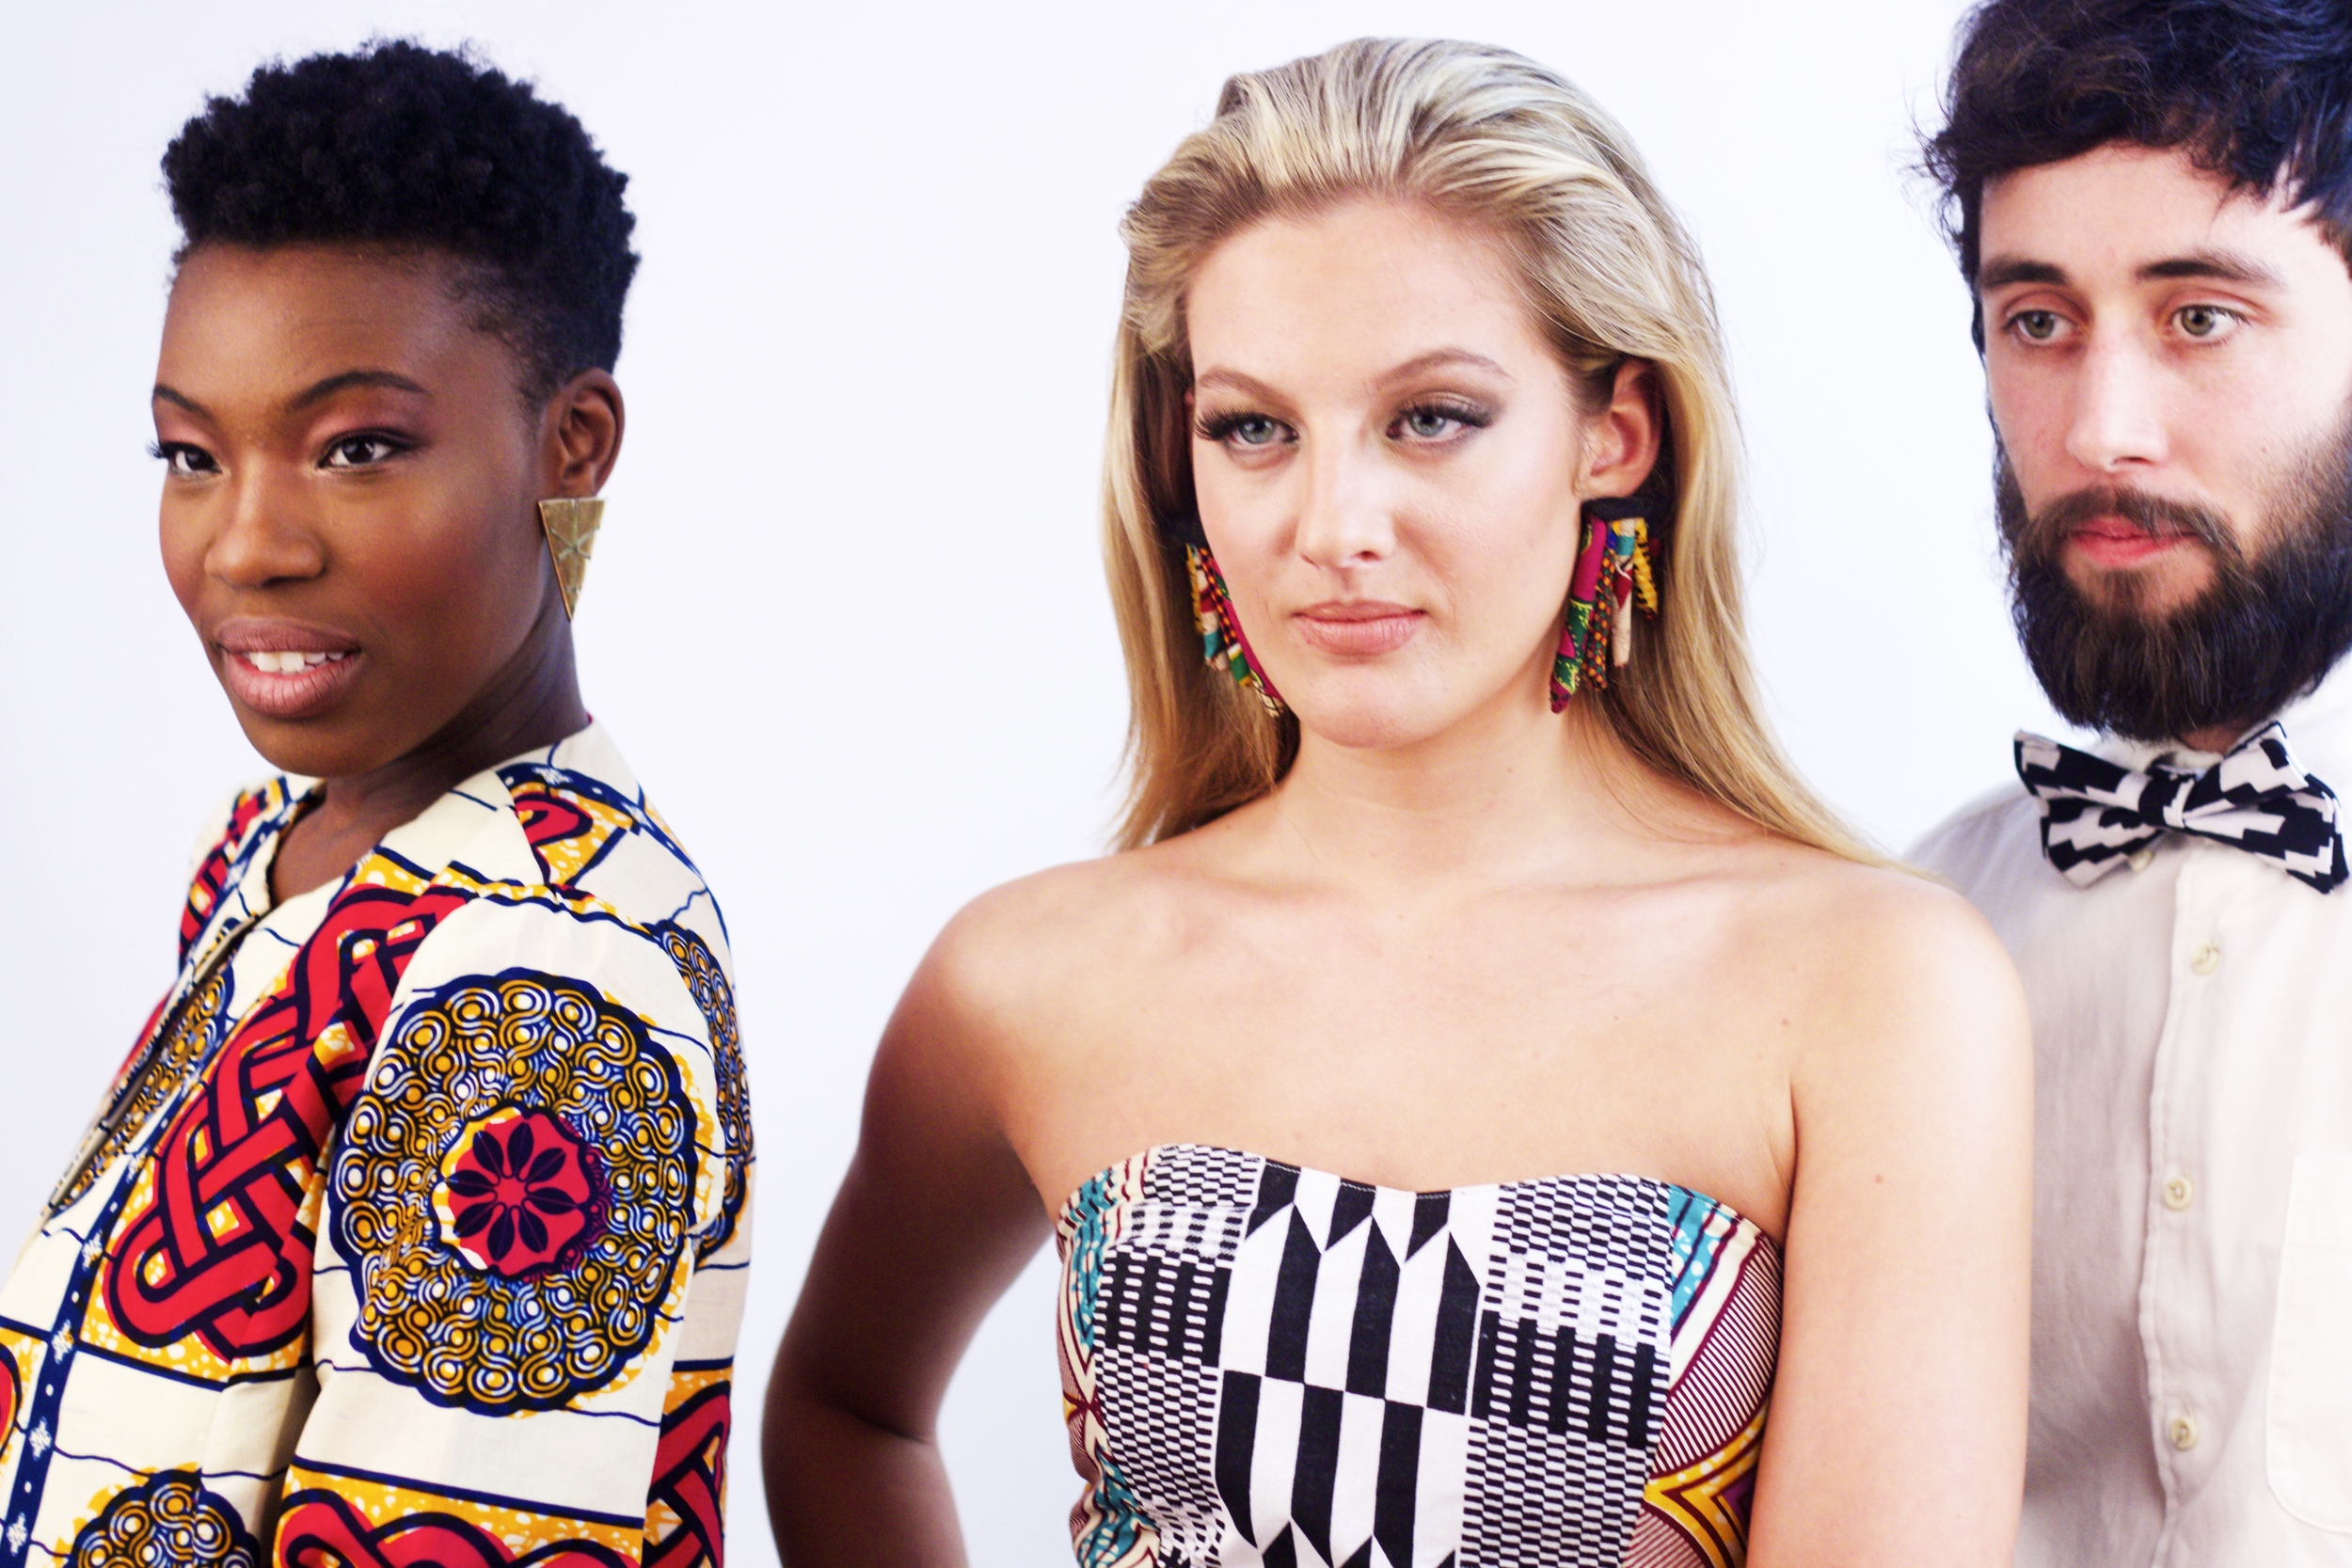
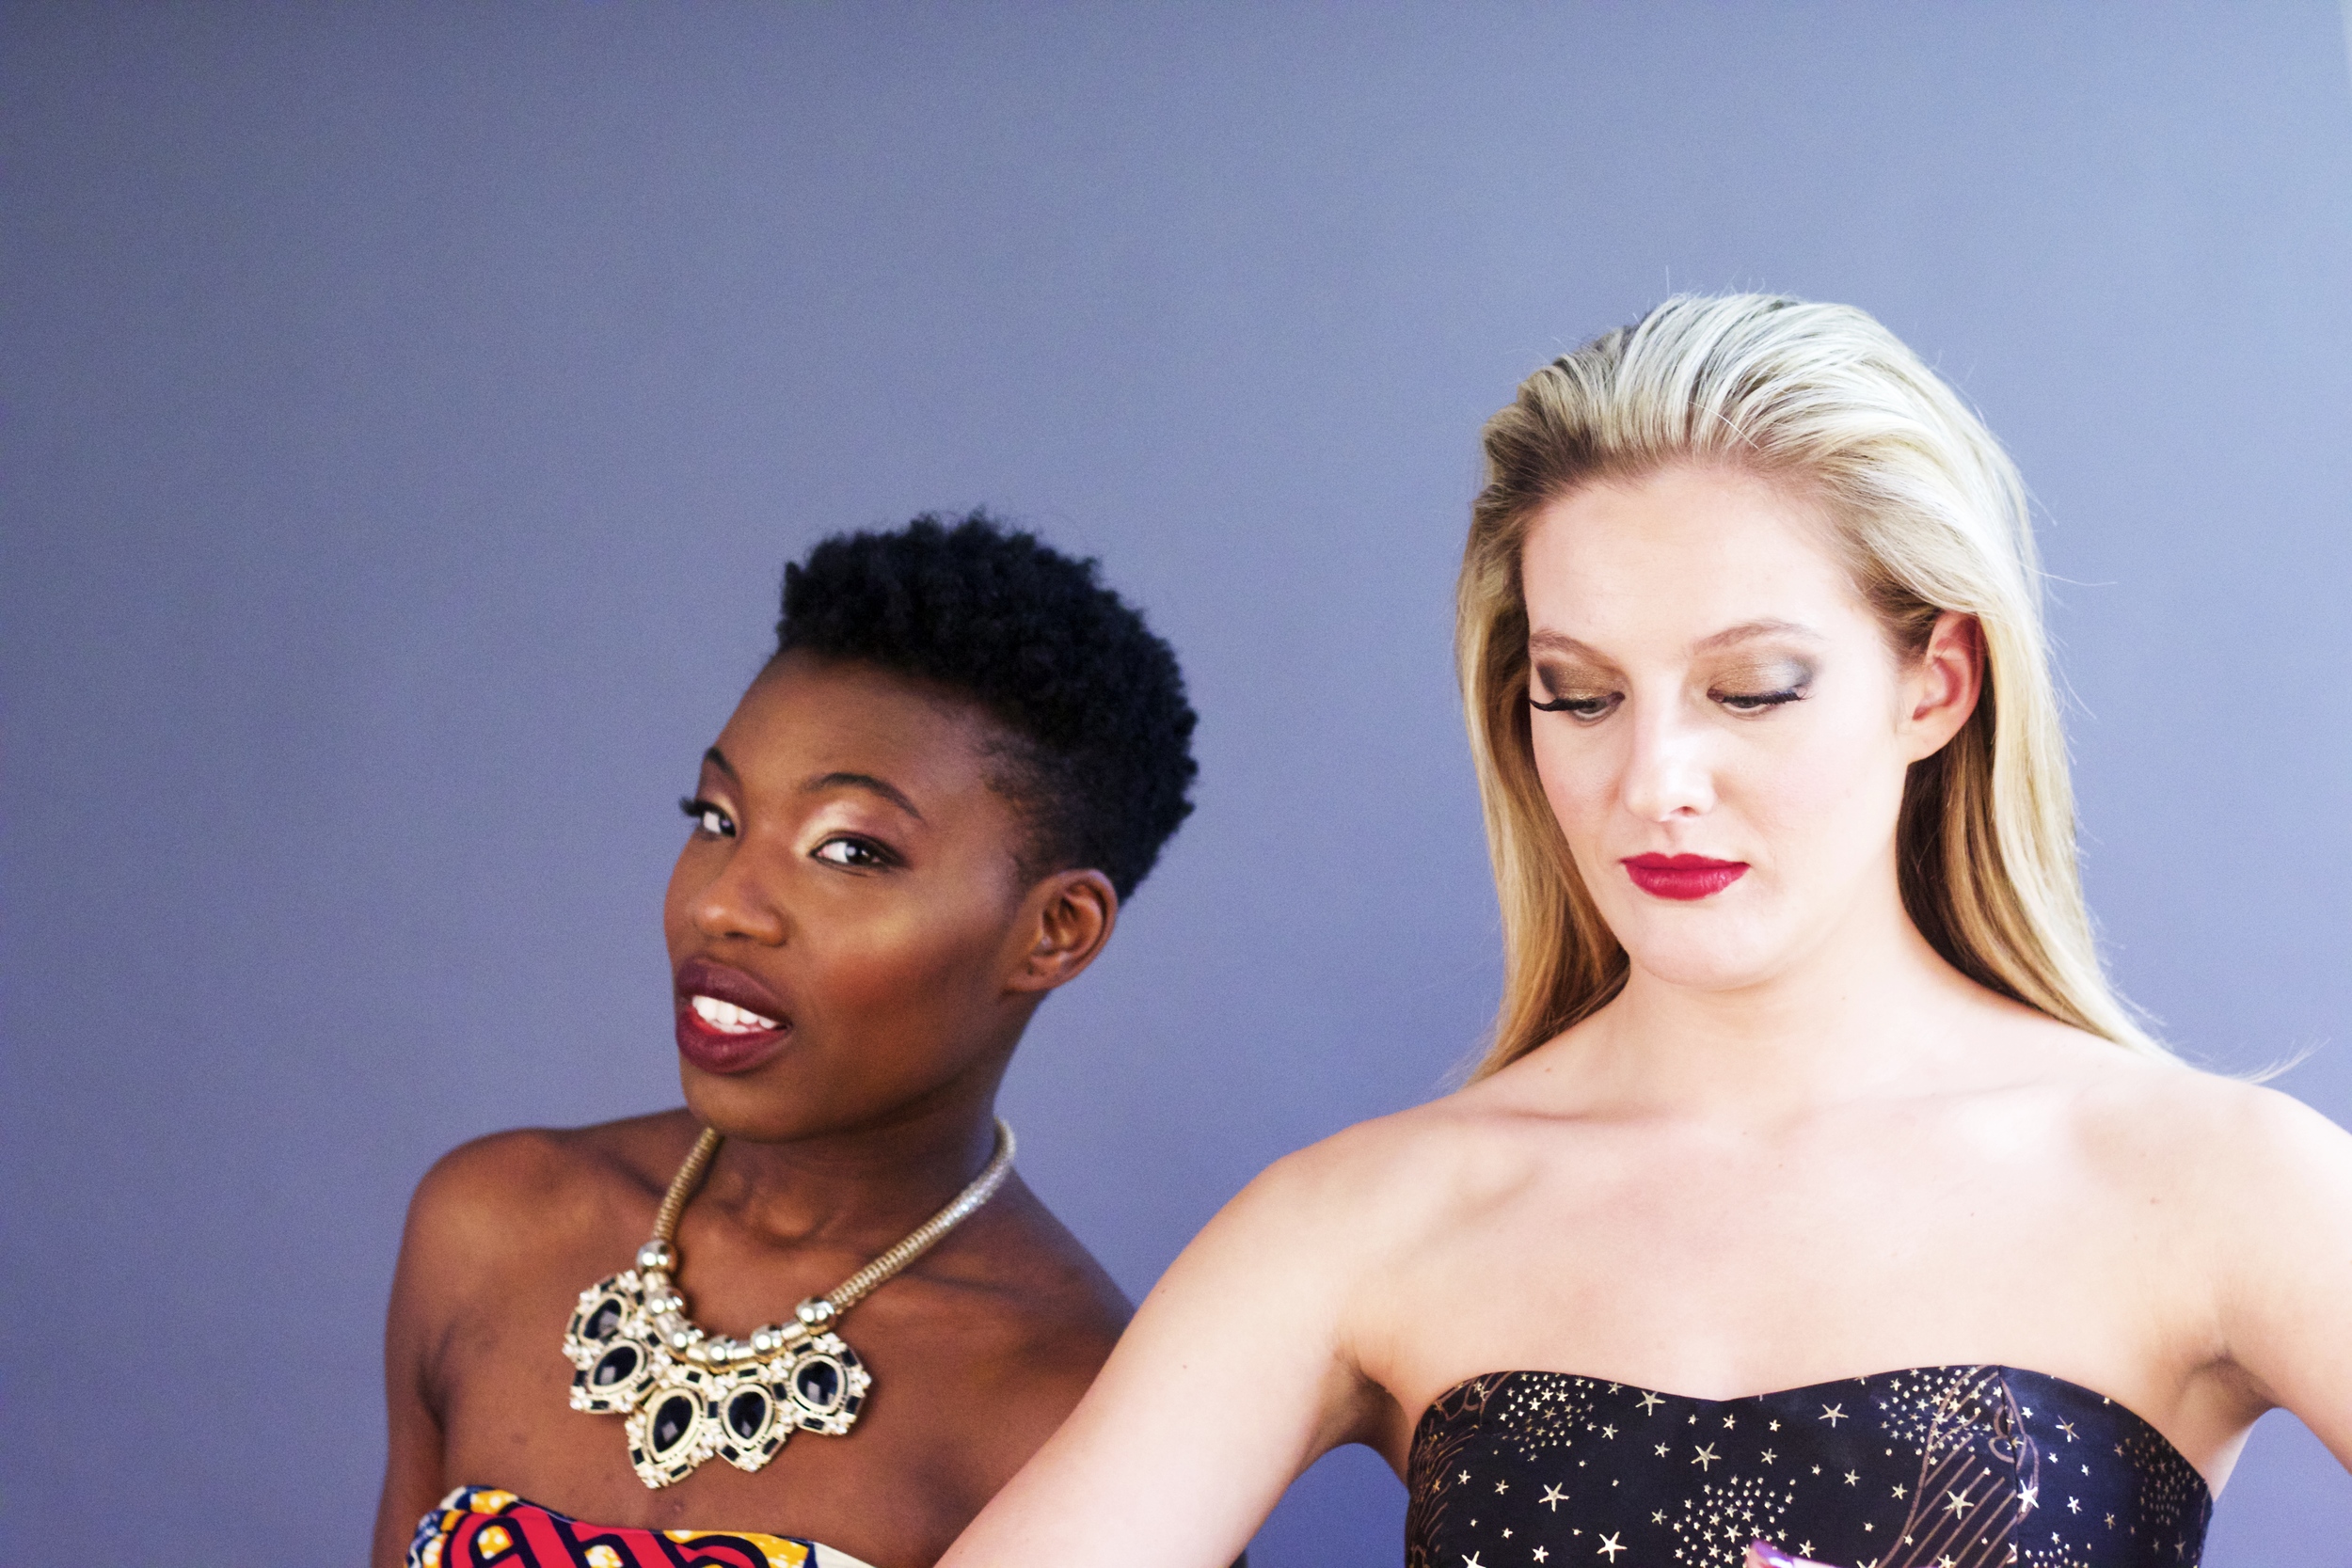
Above: A couple of candid shots I took on the day
Coming up in future beauty features: Male Grooming, Makeup for Girls & Affordable Skincare - Watch this space. In the meantime read a little about my work on the previous Living in Light photoshoot here.
